Введение
Laravel – это элегантный, выразительный и гибкий PHP-фреймворк с упором на чистый код и скорость. Он позиционирует себя как «PHP-фреймворк для веб-мастеров». Это бесплатный PHP-фреймворк с открытым исходным кодом, созданный Тейлором Отвелом на основе архитектурной модели Model View Controller (MVC).
Создание веб-приложения с нуля может быть сложной задачей, особенно если вы новичок. Простое веб-приложение содержит различные маленькие и большие компоненты, и вам, возможно, надоест создавать эти компоненты каждый раз, когда вы разрабатываете приложение. Это скучный и повторяющийся процесс, и нет никакого смысла изобретать велосипед. Вот тогда вам на помощь и приходит фреймворк Laravel.
Фреймворк Laravel предоставляет различные PHP-библиотеки и вспомогательные функции. Он обеспечивает общие функции и логику, чтобы упростить и ускорить разработку, а также помочь вам сосредоточиться на более важных вещах.
Сначала придется уделить немного времени обучению, особенно если вы новичок и не имеете опыта работы с какими-либо веб-фреймворками. Но поверьте мне, если вы наловчитесь, вы не только полюбите, но и пристраститесь к Laravel. Этот фреймворк поддерживает творчество в разработке. Он использует слово «Веб-мастер», чтобы указать на креатив, скрытый в сердце разработчика. Результат — эффективное приложение с меньшим количеством строк и хорошо продуманным кодом.
Чтобы вам было легче изучить Laravel, я написал это руководство специально для неопытной аудитории. Так вам будет проще следовать этому руководству и изучать Laravel.
Что вы должны знать перед использованием этого руководства по Laravel?
- HTML/CSS (Естественно).
- Понимание базового PHP.
- Владение PHP на среднем уровне – это не обязательно, но если у вас есть время, изучите некоторые рядовые вещи: ООП в PHP, абстракцию и т. д.
- Базовое понимание фреймворка MVC.
- Усидчивость – несмотря на то, что изучать Laravel довольно легко, спустя какое-то время вам всё же придется испытать собственное терпение. По крайней мере, у меня были некоторые проблемы из-за того, что я знал PHP, но совсем не разбирался в фреймворках. Когда я изучал фреймворк или успешно завершал проекты, я всё равно путался с базовыми вещами, которые лежат в основе фреймворка MVC. Но я не сдавался.
- Увлечение – да ладно вам, ведь веб-разработка – это весело! По крайней мере, когда используешь Laravel. Лучше всего получать наслаждение от своего познавательного путешествия.
Step 4 – Create Environment Settings
Next, create the Laravel environment confiugration file. You can do it by renaming the .evn.example file to .env. This will use to setup application environment for the project.
mv .env.example .env
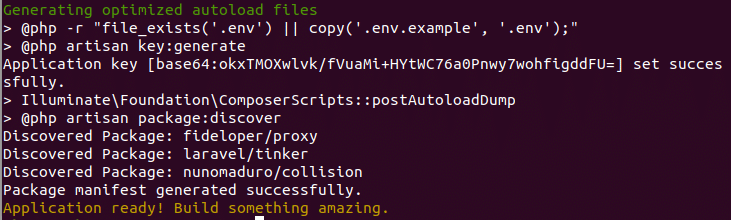
Now generate base64 random number encryption key, which used by the Illuminate encrypter service.
php artisan key:generate

Application key set successfully.
Edit the .env configuration file and update the required settings. Also, make sure APP_KEY is properly set as generated in the above command.
vi .env
APP_NAME=Laravel
APP_ENV=local
APP_KEY=base64:HFdS7c9rhDp+AeHu7kc2OLBPuxHqq2BQ/1gfFWEpoAk=
APP_DEBUG=true
APP_URL=http://localhost
...
You can also change the APP_NAME with the name of your application and APP_URL to the URL you need to access your Laravel application.
Conclusion
In this tutorial, you’ve set up a new Laravel application on top of a LEMP stack (Linux, Nginx, MySQL and PHP), running on an Ubuntu 18.04 server. You’ve also customized your default route to query for database content and exhibit the results in a custom view.
From here, you can create new routes and views for any additional pages your application needs. Check the official Laravel documentation for more information on routes, views, and database support. If you’re deploying to production, you should also check the for a few different ways in which you can improve your application’s performance.
For improved security, you should consider installing an TLS/SSL certificate for your server, allowing it to serve content over HTTPS. To this end, you can follow our guide on (https://www.digitalocean.com/community/tutorials/how-to-secure-nginx-with-let-s-encrypt-on-ubuntu-18-04).
Check also our Laravel tag page for more learning materials about this framework, including tech talks and tutorial series.
if(typeof ez_ad_units != ‘undefined’){ez_ad_units.push([[250,250],’larashout_com-leader-1′,’ezslot_3′,191,’0′,’0′])};__ez_fad_position(‘div-gpt-ad-larashout_com-leader-1-0’);Download and Install Composer in Windows
Before installing Composer, please make sure you have the PHP and MySQL installed on the computer and it’s working. To check this open the command line terminal (Git Bash or Windows Command Terminal) and run the below command.
php -v
If the PHP is installed and running properly, then you will have output something like below.
λ php -v
PHP 7.2.14 (cli) (built: Jan  9 2019 22:23:26) ( ZTS MSVC15 (Visual C++ 2017) x64 )
Copyright (c) 1997-2018 The PHP Group
Zend Engine v3.2.0, Copyright (c) 1998-2018 Zend Technologies
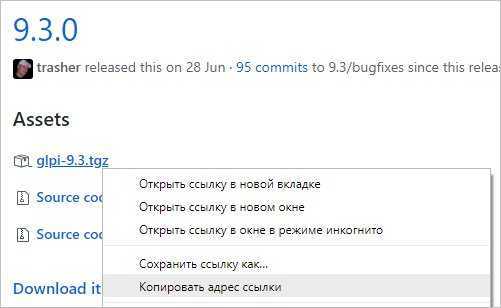
Next, we will download the latest version of Composer for Windows from the official website. On the Composer’s website’s Download section you will get the link to download the Composer-Setup.exe file.
The file size of this installation file is very small, once you have downloaded the file head over to the next step.
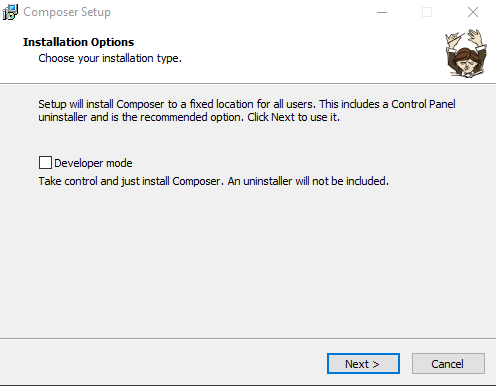
You will need to run the Composer’s installation file as any Adminstrator if you are on a shared network. Right-click on the file and choose Run as Adminstrator.
You will have the installation window open like below simply, click on Next.
 Install Laravel -Composer Installation
Next, the installation will automatically locate the PHP installed on your computer, simply press Next.
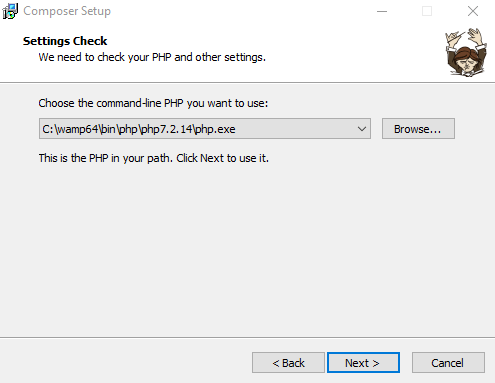 Install Laravel -Composer Installation
Next, it will ask you for any proxy settings, simply press Next.
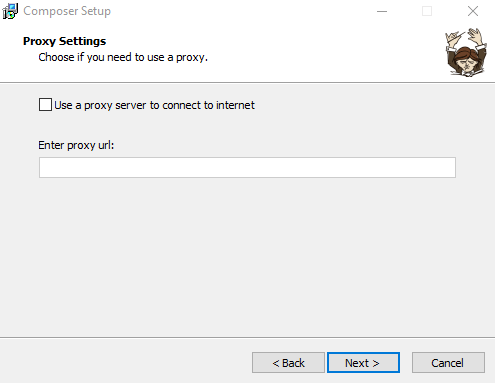 Install Laravel -Composer Installation
Now, the composer is ready to install, click on Install button and composer will be installed on your computer.
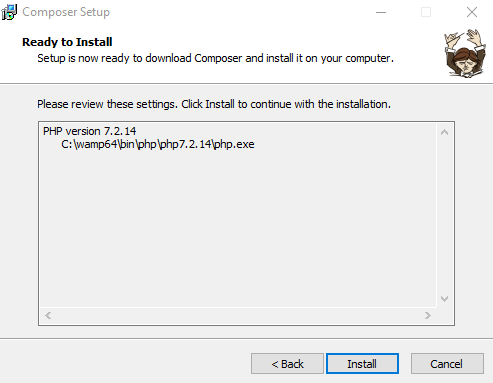 Install Laravel -Composer Installation
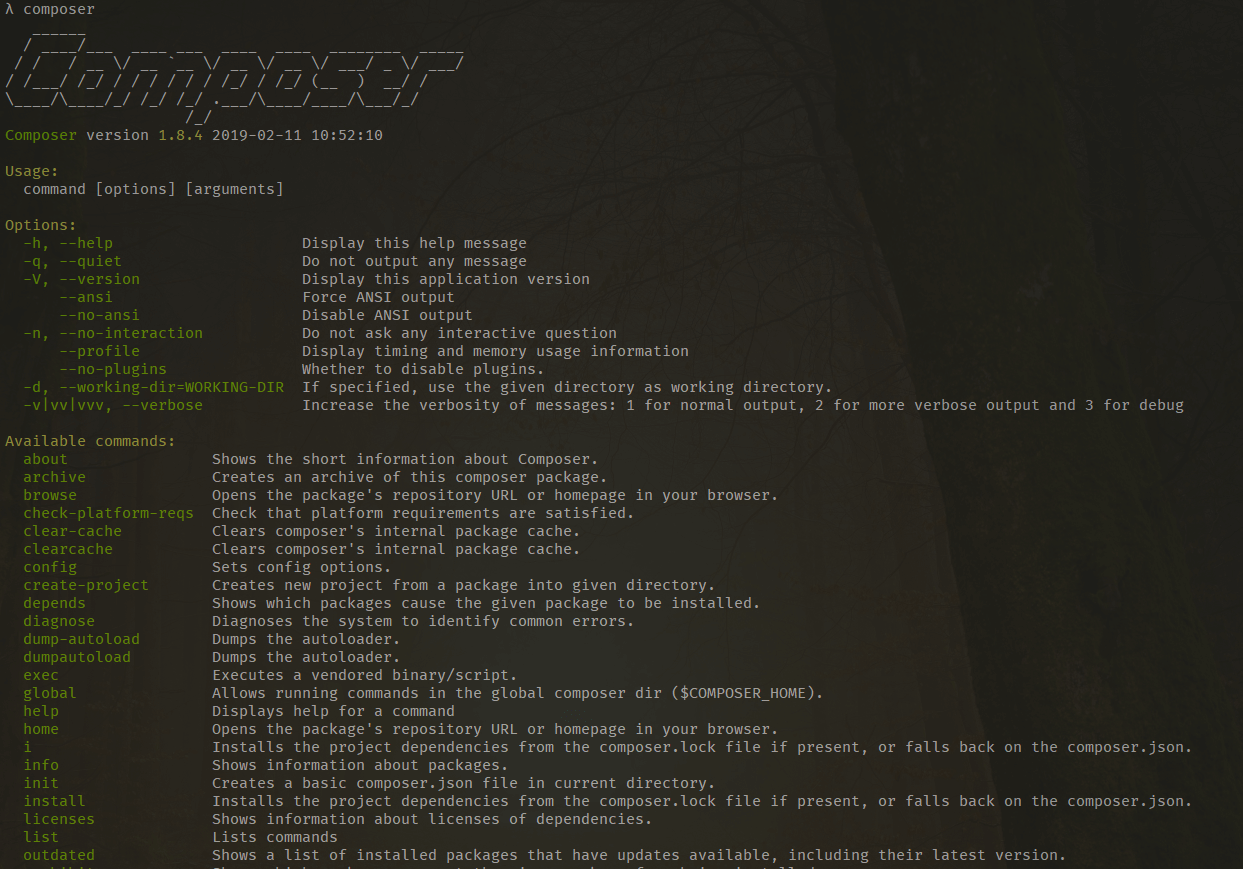
When the installation finish, open the command line terminal and run the in it. If the composer has successfully installed, you will get the output as below.
 Install Laravel -Composer Installation
Now, we’ll be moving to the process of Laravel download and install.
Requirements to Install Laravel
Before moving to the Laravel installation, we have to make sure that our machine fulfills all the requirements of the Laravel framework. Before proceeding make sure machine meets the following system requirements.
- A webserver Apache or Nginx
- PHP >= 7.1.3
- OpenSSL PHP Extension
- PDO PHP Extension
- Ctype PHP Extension
- JSON PHP Extension
- MBString PHP Extension
- Tokernizer PHP Extension
- XML PHP Extension
- BCMAth PHP Extension
- Composer
If you are using any WAMP, XAMP or Laragon application on your machine then most probably you will have all the above requirements installed on your machine except Composer.
Prerequisites
In order to complete this guide, you will first need to perform the following tasks on your Ubuntu 18.04 server:
- Create a user and enable . To set this up, you can follow our Initial Server Setup with Ubuntu 18.04 guide.
- Install Nginx. If you haven’t set this up yet, you can follow steps 1 and 2 of How To Install Nginx on Ubuntu 18.04.
- Install MySQL. Follow steps 1 and 2 of our guide on How to Install MySQL on Ubuntu 18.04 to set this up.
- Install PHP 7.4 or higher. To accomplish that, you can follow step 1 of our guide on How To Install PHP 7.4 and Set Up a Local Development Environment on Ubuntu 18.04.
- Install Composer. You’ll use Composer to install Laravel and its dependencies. You can install Composer by following our guide on How to Install Composer on Ubuntu 18.04.
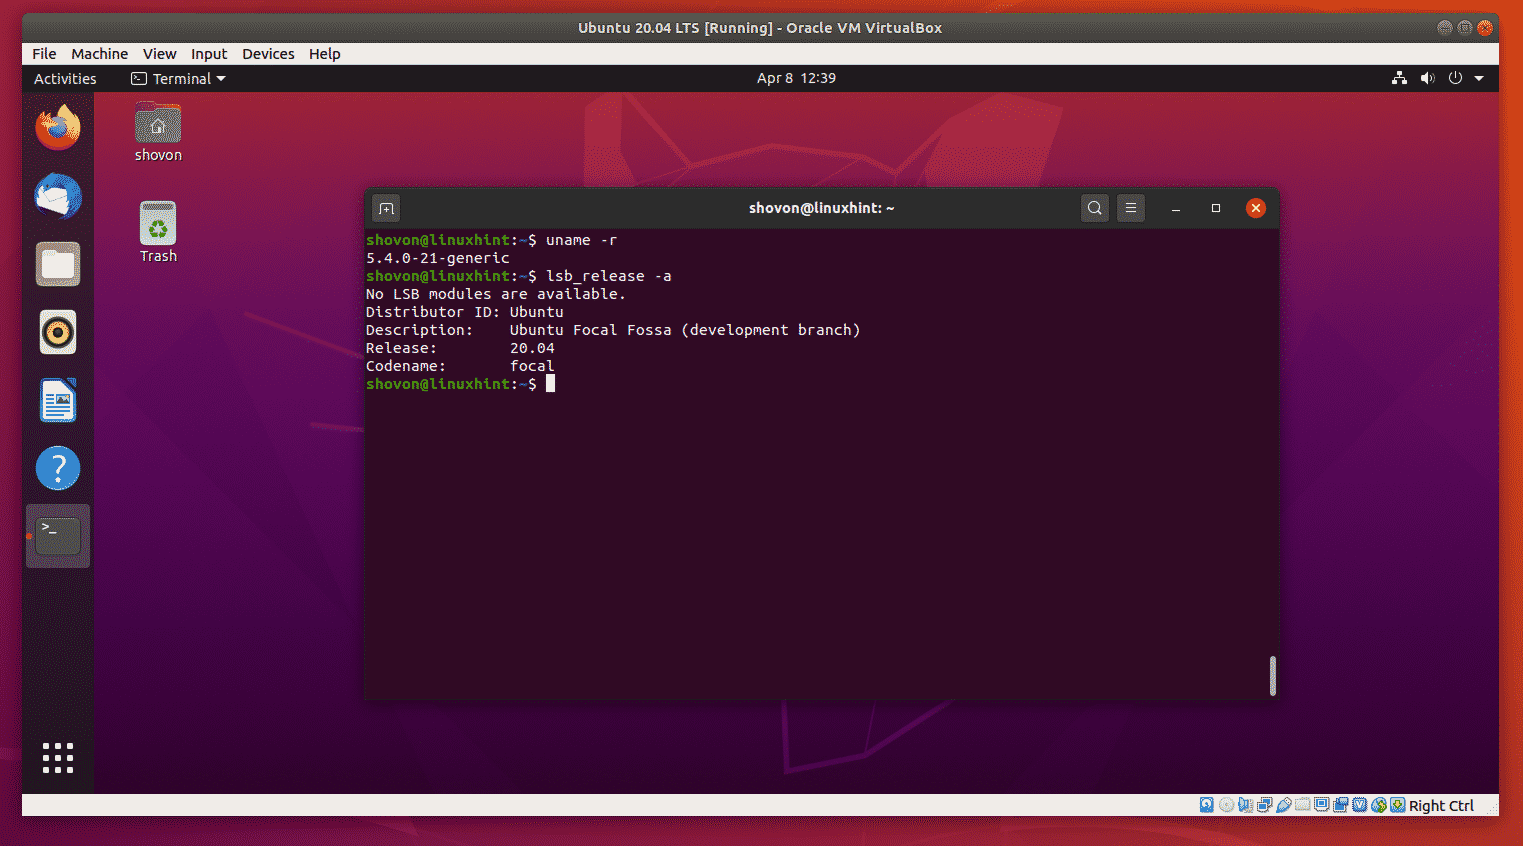
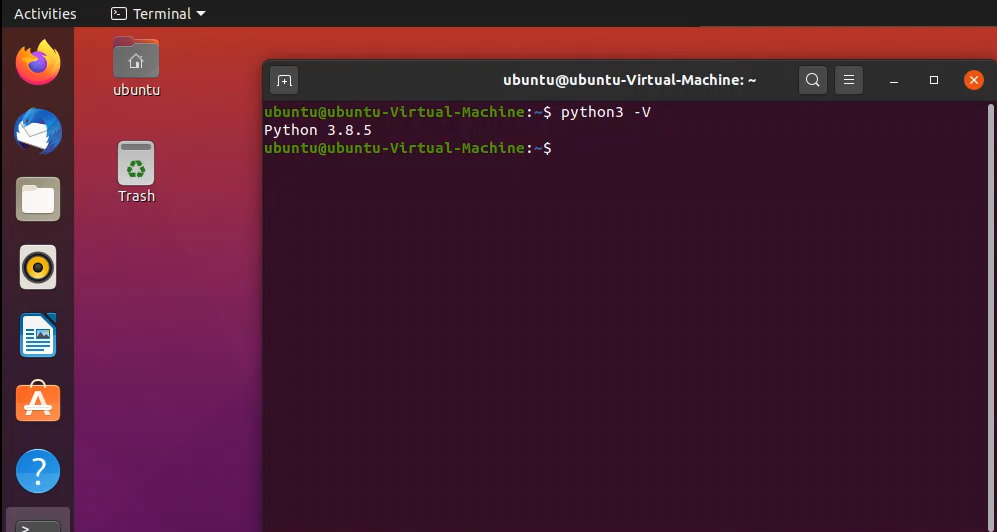
To verify which version of PHP your server is currently using, run:
Check the output to make sure your server has PHP 7.4 or higher installed, since that is the latest stable release of PHP.
Installing Laravel
Once the installation of Composer is completed, proceed by installing the web application framework Larave. To do so, enter first the Apache root directory and remove the sample files present:
Then, use Composer’s create-project command to install Laravel in the current directory (using the «.» Character at the end of the command):
Proceed by correctly setting permissions for the newly created folders:
Once completed, all you have to do is correct the Apache configuration, setting the one called ‘public’, just created by Lavarel, as the folder to serve. Then, open the file:
Inside you will find the entry «DocumentRoot» with the default value «/ var / www / html /», change it as follows:
Save the changes and restart the service:
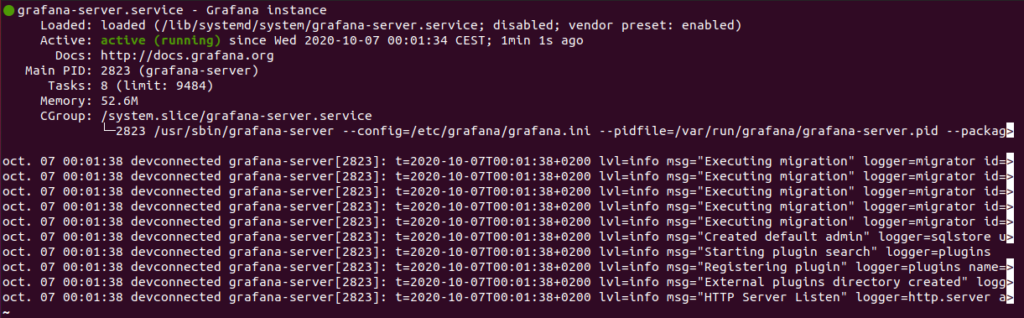
Step 18: Migrate our Database
Now that everything else is set up you can actually run your app. The only problem you might still have is that if your app relies on a database, then you need to migrate your database. We do this in much the same way as on our local computer. At this point our configuration files should have everything we need to set up and communicate with our database, so migrating now should be simple.
This will warn you that your app is in production and make sure that you want to actually run your migrations. The default setting is “no” also so its very difficult to accidentally migrate your live database. This can be good because sometimes you might forget you are logged into your server on SSH and just grab the nearest terminal window to run what you think are local migrations, but really they are production migrations. This script makes sure we know what we are doing.
Type to continue and migrate your database.
Now with all set up, our laravel application is available world wide
Step 8: Configure Nginx
Now it’s time to configure Nginx for laravel. run the following command to open configuration file with nano editor.
It will open file with following lines in editor.
Change the lines by following.
Add index.php because Nginx first tries to find the index file, then index.php, then index.html until it finds matching file. An order is important here. Change the server name with IP address of your droplet. If you have domain name then you can directly use it instead of IP address.
Now save the changes with ctr + x and type y then press Enter.
If everything is fine then it will show this message.
This means you have no errors. Good work, now to let it take effect you can restart Nginx
Now we are ready to deploy our laravel application on server. Everything is configured. We need to install other tools that will help us to install laravel.

Installation of Laravel
To start the installation process, you have to install PHP and MySQL/MariaDB database server for working with a database. If you don’t want to use a database in Laravel project now then you can omit the step for installing MariaDB database. Laravel has its own development server, so you don’t need to install Apache or any other web server.
MariaDB Installation (optional)
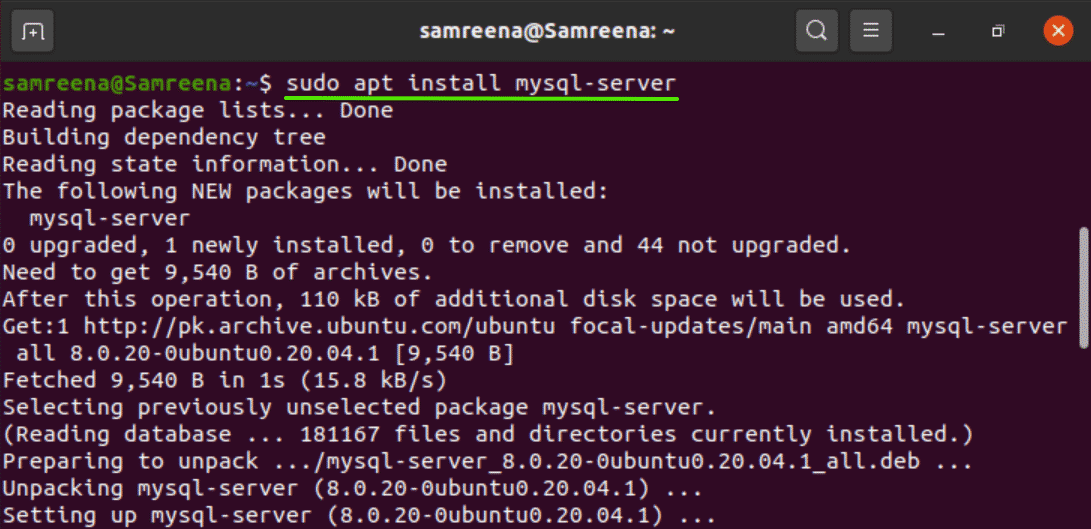
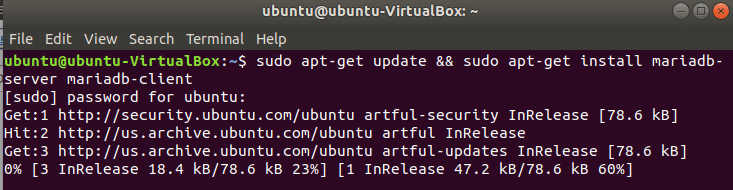
Run the command to update the system and install MariaDB database server and client. Press ‘y’ when it asks permission for installation.
$ sudo apt-get update && sudo apt-get install mariadb-server mariadb-client
PHP Installation
Run the command to install latest version of PHP and press ‘y’ when to give the permission for installation.
$ sudo apt-get install php

Check the version of PHP.
$ php -v

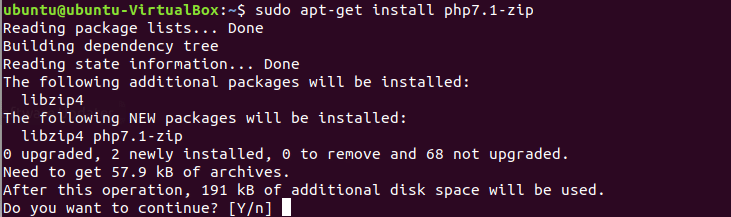
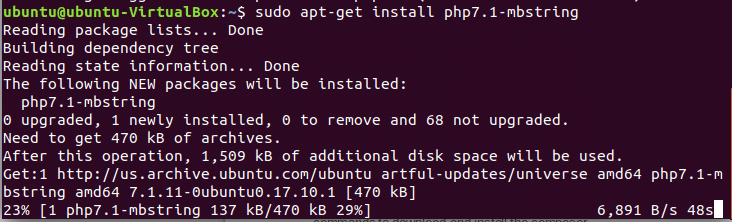
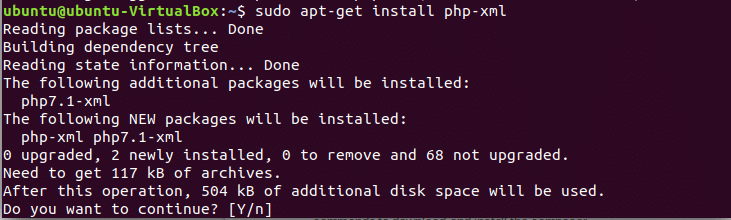
Some PHP extensions are required to install Laravel successfully. These are Zip, mbstring and xml. Without these extensions, curl package is used to install another package manager called composer. Run the commands to install curl and those required extensions.
$ sudo apt-get install curl

$ sudo apt-get install php7.1-zip
$ sudo apt-get install php7.1-mbstring
$ sudo apt-get install php-xml
The most useful dependency manager for PHP is composer. All required libraries and dependency packages can be installed properly from one place by using this package. You have to install this package for installing Laravel on Ubuntu. Run the following command to download and install the composer.
$ curl -sS https://getcomposer.orginstaller | sudo php —-install-dir=usrlocalbin —filename=composer

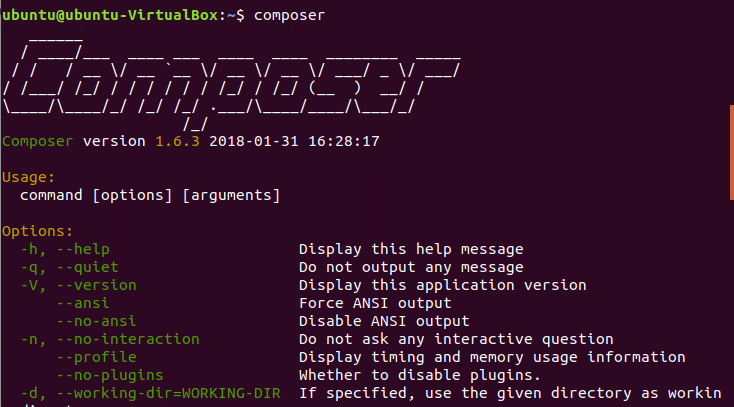
Now type composer in the terminal to check that it is properly installed or not.
$ composer
You can install Laravel with composer by two ways. One way is to use create-project command and another way is to install Laravel first and run laravel command to create a new Laravel project. The second way is followed in this tutorial. Without owner permission of .composer folder, you will not be able to install laravel using composer. Run the command to set the owner permission of .composer folder for current user.
$ sudo chown -R $USER .composer

You have to install git package also before running the command of Laravel installation. Install git package.
$ sudo apt-get install git

To run Laravel installation commands from terminal you have to modify bashrc file. Run the following commands to open bashrc file.
$ echo ‘export PATH=»$HOME/.composer/vendor/bin:$PATH»‘ >> ~.bashrc
$ source ~.bashrc

After executing the above command, you have to reopen the terminal again to install Laravel. Open a new terminal and run the command to install Laravel.
$ composer global require «laravel/installer»
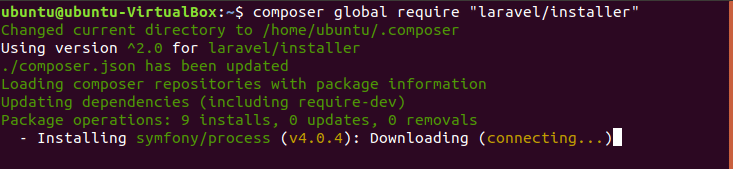
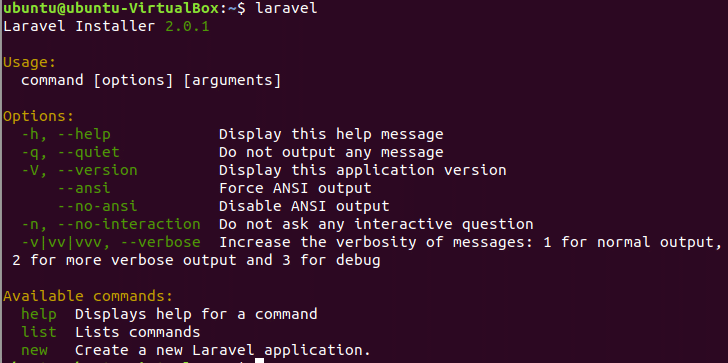
The following screen will appear if Laravel installation completes successfully. Now, you can create any Laravel project by running laravel command.
Run the command to check Laravel is installed properly or not. If the following screen appears then Laravel is properly installed succesfully.
$ laravel
Laravel Project Creation
Run Laravel command to create a new project.
$ laravel new laravelpro

Running Laravel Project
Go to the project folder.
$ cd laravelpro

Run the command to start Laravel server.
$ php artisan serve

Open a browser and type the following URL to check Laravel is properly installed or not.
If the following page appears then Laravel is installed properly.
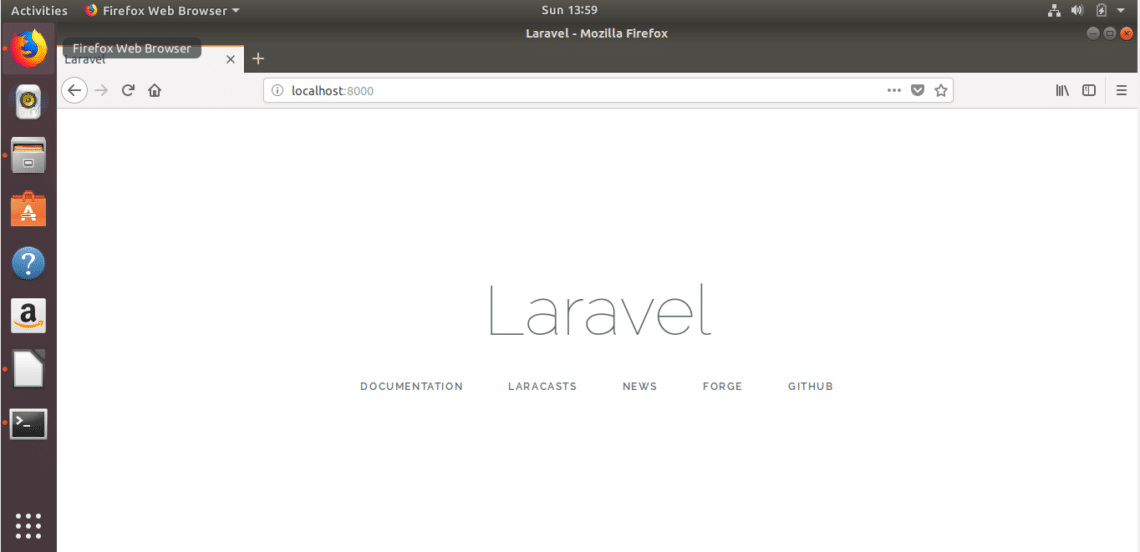
Your laravel project is ready to use now. You can create necessary controllers and models by using artisan command to develop your new project.
Creating Controller
One of the major parts of the MVC framework is the controller. The coder implements different types of logical codes in the controller section. All controller files are stored in app/Http/Controllers folder. You can create mainly two types of controllers in Laravel. One is a plain controller and another is a resource controller. Suppose, you want to create a plain controller in the project named Customer. Go to the laravel project folder and run the command to create the controller from the terminal.
$ php artisan make:controller CustomerController

If the controller creates successfully then it will appear in app/Http/Controllers folder. So, go to that folder and check if the controller is created or not.
$ cd appHttpControllers
$ ls

If you want to use a database in your Laravel project then you have to create a database on MariaDB server and modify the required database connection file of Laravel, but that is for a future lesson.
I hope you can see from this the simplicity and power of getting started with Laravel. See the video below for more info:
Modify the PHP Configuration
Now that we have our components installed, we can start to configure them. We will start with PHP, which is fairly straight forward.
The first thing that we need to do is open the main PHP configuration file for the PHP-fpm processor that Nginx uses. Open this with sudo privileges in your text editor:
We only need to modify one value in this file. Search for the parameter. This will be commented out and set to “1”. We need to uncomment this and set it to “0”:
This tells PHP not to try to execute a similar named script if the requested file name cannot be found. This is very important because allowing this type of behavior could allow an attacker to craft a specially designed request to try to trick PHP into executing code that it should not.
When you are finished, save and close the file.
The last piece of PHP administration that we need to do is explicitly enable the MCrypt extension, which Laravel depends on. We can do this by using the command, which lets us easily enable optional modules:
Now, we can restart the service in order to implement the changes that we’ve made:
Our PHP is now completely configured and we can move on.
Step 4 – Install Laravel 8.x on Ubuntu 20.04
Now install Laravel Framework using composer, just type composer global require Laravel/installer It will take a while to complete download its dependencies.
composer global require laravel/installer
As you had seen above image, all packages have been installed on the ‘~/.config/composer’ directory. Next, we need to add the ‘bin’ directory to the PATH environment through the ~/.bashrc configuration. So Now Edit the ~/.bashrc configuration using nano command.
nano ~/.bashrc
And add the following line at the end of the file.
...
export PATH="$HOME/.config/composer/vendor/bin:$PATH"
...
Now reload your bashrc configuration using the source command.
source ~/.bashrc
Now echo $PATH. It will return your “Bin” directory path for the Composer package.
echo $PATH
The ‘bin’ directory for the composer packages has been added to the $PATH environment variable. And as a result, you can use the command ‘laravel’ to start and create a new project. Now go ahead and type Laravel new then your project name to start a new Laravel project.
laravel new myapp1
This will take a while to download all dependencies required by Laravel.
Here you can see the installation of my new project myapp1 finished. You can also see inside my home directory a new directory has been created with my project name.
Step 7: Configure PHP
We need to make one security change in php.ini file. php.ini file is the configuration file for php. Run the following command to open php.ini file in nano editor. If you want to use other editors, you can.
we need to change cgi.fix_pathinfo=0 in ini file. you can search for the line by ctr + w in nano editor, type cgi.fix_pathinfo= and press Enter. Cursor now moved to the corresponding line. Now remove semicolon from starting of line and change cgi.fix_pathinfo = 1 to and press ctr + x then press y to save changes.
Before the changes can take effect we need to restart by typing in this command:
Now changes has taken effects so, we can move further.
Installing PHP
To proceed with a minimal installation of PHP, the packages «php», «libapache2-mod-php» and «php-mysql» through the command: can be installed
However, in case you need to use complex software, such as WordPress or other CMS, it may be useful to install other support packages through:
After completing, restart Apache to apply the changes made:
To verify correct PHP installation create an “info.php” file in the / var / www / html / folder using a text editor (for example, nano):
Copy the following string into the file you just opened:
Save the file and open the file address with your browser:
If everything works correctly, the installed current version of PHP, the extensions and all the current configuration data will be shown.
2: Создание базы данных для приложения
Чтобы продемонстрировать базовую установку и использование Laravel, мы создадим простое тестовое приложение со списком: оно будет показывать список мест, в которые пользователь хотел бы отправиться, и список мест, которые он уже посетил. Эти данные можно сохранить в простой таблице places. Поле для хранения названий стран или городов мы назовем name. Второе поле, которое будет отмечать места как посещенные или не посещенные, будет называться visited. Кроме того, мы добавим поле id для уникального идентификатора каждой записи.
Чтобы подключиться к базе данных из приложения Laravel, мы создадим выделенного пользователя MySQL и предоставим ему полные права доступа к БД travel_list.
Чтобы начать работу, войдите в консоль MySQL как пользователь root:
Чтобы создать новую базу данных, выполните следующую команду из консоли MySQL:
Теперь вы можете создать нового пользователя и предоставить ему полные права доступа к базе данных, которую вы только что создали. В этом примере мы назовем пользователя travel_user и присвоим ему пароль password (не рекомендуем использовать такой простой пароль в настоящем приложении):
Теперь у пользователя travel_user есть полные права доступа к базе данных travel_list, но при этом он не может создавать или изменять другие базы данных на вашем сервере.
После этого выйдите из оболочки MySQL:
Теперь вы можете проверить, есть ли у нового пользователя соответствующие привилегии. Для этого снова войдите в консоль MySQL, указав учетные данные нового пользователя:
Обратите внимание на флаг -p в этой команде, который попросит вас ввести пароль, использованный при создании пользователя travel_user. После входа в консоль MySQL убедитесь, что у вас есть доступ к базе данных travel_list:. Команда покажет следующий результат:
Команда покажет следующий результат:
Теперь создайте таблицу places в базе данных travel_list. Из консоли MySQL запустите команду:
Затем заполните таблицу places какими-нибудь данными:
Убедитесь, что данные успешно сохранены в таблице:
Вы получите такой результат:
Убедившись, что у вас есть валидные данные, с которыми можно работать, закройте консоль MySQL:
Теперь вы можете создать приложение и настроить его для подключения к новой базе данных.
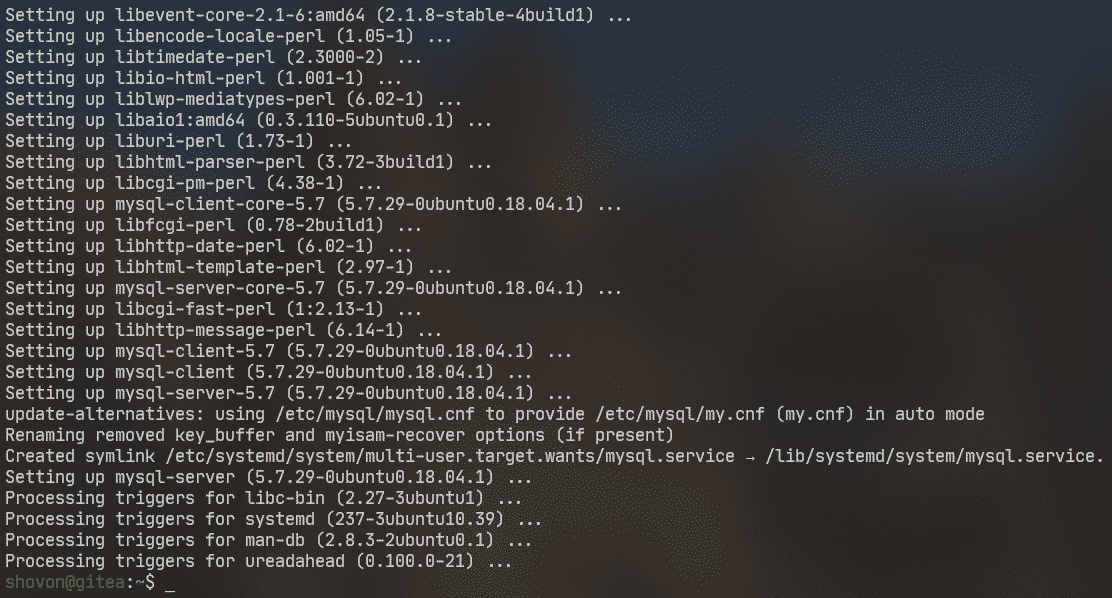
Installation of PHP and Other Required Libraries for Laravel Project
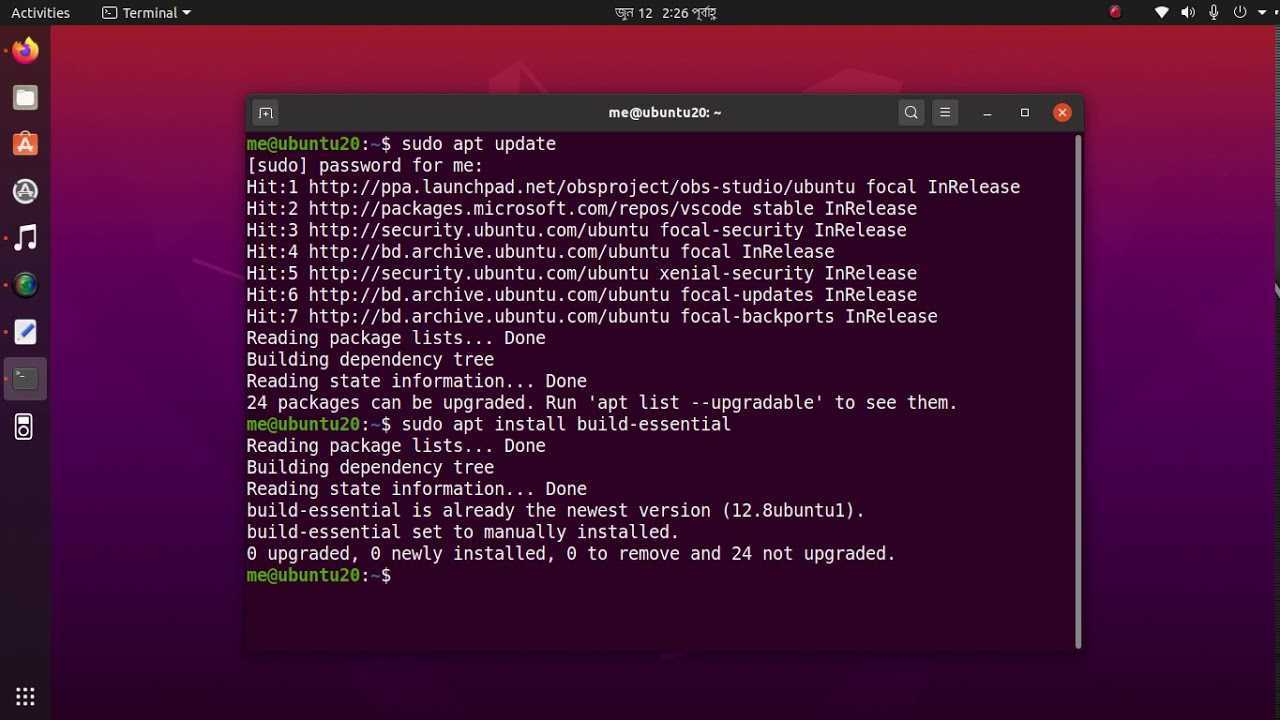
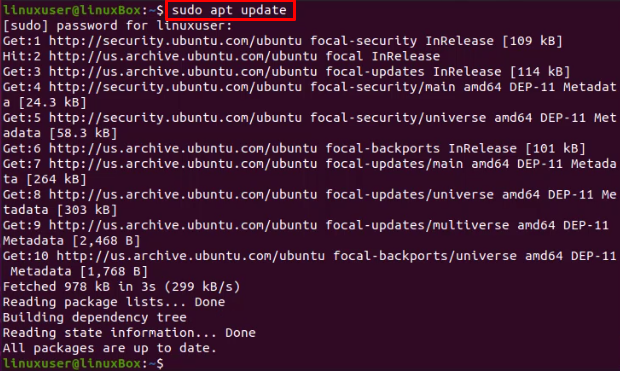
Before jumping into the installation part of any package or libraries, it is always a good practice to update the system’s repository cache. So, update Ubuntu’s APT cache repository using the command:
$ sudo apt update
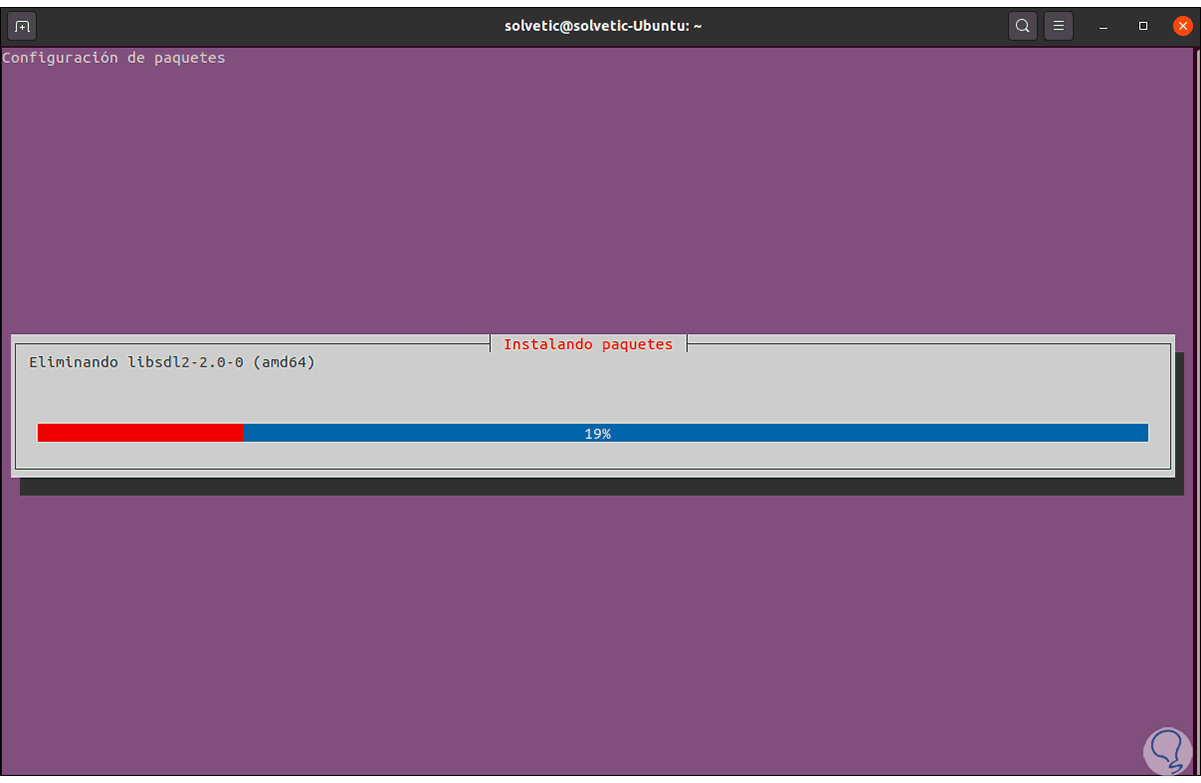
Alright, now to install PHP and some other required modules of it, type the command provided below:
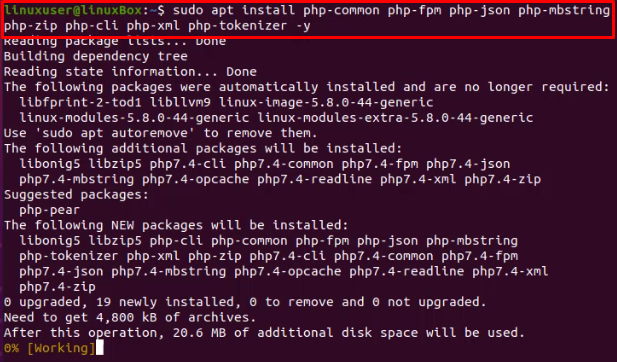
$ sudo apt install php-common php-fpm php-json php-mbstring php-zip php-cli php-xml php-tokenizer -y
The above command will install PHP and all other required PHP modules on your Ubuntu 20.04 LTS system, and the “-y” flag will auto-answer “yes” to any prompt that occurred during the installation process.

Along with the PHP and its required libraries, install the other software dependencies required for the installation and configuration like curl and unzip. To install curl and unzip, type the command given below:
$ sudo apt install curl unzip -y
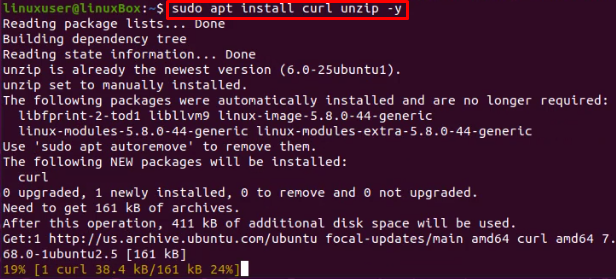
After running the above command, all the software dependencies will be installed.
Let’s move ahead to install the Composer.
Step 2 — Setting Up the Application’s .env File
The Laravel configuration files are located in a directory called , inside the application’s root directory. Additionally, a file is used to set up environment-dependent configuration, such as credentials and any information that might vary between deploys. This file is not included in revision control.
Warning: The environment configuration file contains sensitive information about your server, including database credentials and security keys. For that reason, you should never share this file publicly.
The values contained in the file will take precedence over the values set in regular configuration files located at the directory. Each installation on a new environment requires a tailored environment file to define things such as database connection settings, debug options, application URL, among other items that may vary depending on which environment the application is running.
We’ll now create a new file to customize the configuration options for the development environment we’re setting up. Laravel comes with an example file that we can copy to create our own:
Open this file using or your text editor of choice:
The current file from the demo application contains settings to use a local MySQL database, with as database host. We need to update the variable so that it points to the database service we will create in our Docker environment. In this guide, we’ll call our database service . Go ahead and replace the listed value of with the database service name:
.env
Feel free to also change the database name, username, and password, if you wish. These variables will be leveraged in a later step where we’ll set up the file to configure our services.
Save the file when you’re done editing. If you used , you can do that by pressing , then and to confirm.